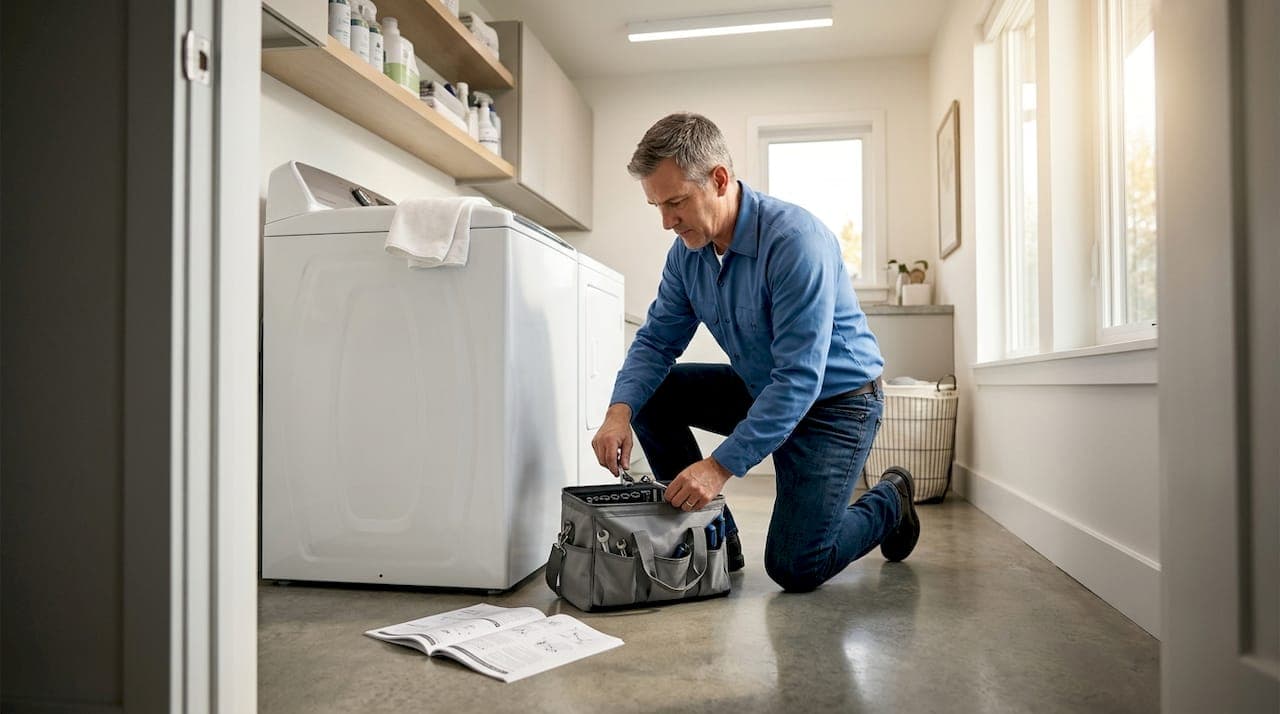
When your washing machine stops agitating, clothes come out just as dirty as they went in. That's the moment washing machine agitator repair moves from "something to look into" to an urgent household problem. The agitator, the tall spindle in the center of a top-load washer, uses directional cogs and plastic teeth called agitator dogs to twist back and forth and move clothes through water. When those parts wear out or break, the whole wash cycle fails. The good news is that most agitator fixes are well within reach for a homeowner with basic tools and an hour to spare.
Table of Contents
- Key Takeaways
- Washing machine agitator repair: tools and prep
- Step-by-step agitator removal and repair
- When the agitator isn't actually the problem
- Testing and keeping your repair lasting
- My take on agitator repairs after years in the field
- Need a hand? Pfc-mt has you covered
- FAQ
Key Takeaways
| Point | Details |
|---|---|
| Diagnose before you replace | Confirm whether the agitator itself or a related part like the drive coupler is causing the problem. |
| Model number matters | Always match replacement parts to your exact washer model to avoid compatibility issues. |
| Repair kits save money | A targeted repair kit can cost under $10 and fix the issue without replacing the full agitator. |
| Safety comes first | Unplug the washer and shut off the water supply before touching any internal parts. |
| Know when to call a pro | If the motor, gearcase, or control board is involved, professional diagnosis saves time and money. |
Washing machine agitator repair: tools and prep
Before you touch a single part, you need the right setup. Skipping this step is how small repairs turn into bigger problems.
Tools you will need
Gather these before you start:
- Socket wrench set (a 7/16-inch socket is the most common size for agitator bolts)
- Needle-nose pliers
- Flathead screwdriver
- Flashlight or headlamp
- Work gloves
- Old towels or a bucket to catch water
- Smartphone for photos during disassembly
Finding your washer model number
Your model number is printed on a sticker, usually inside the lid frame or on the back panel. Write it down before you order anything. Matching parts to your model prevents compatibility headaches and wasted return shipping. Brands like Whirlpool, Kenmore, Maytag, and GE all use slightly different agitator designs, even across machines that look identical from the outside.
Where to source parts
OEM (original equipment manufacturer) parts are the safest bet. For example, Whirlpool lists an agitator repair kit for under $6 for specific models. That kit typically includes new agitator dogs, a cam, and retaining clips. Aftermarket kits exist too, but always verify they list your exact model number in the compatibility section.
| Part type | Typical cost | Best for |
|---|---|---|
| Agitator repair kit | $5 to $15 | Worn dogs or directional cogs |
| Full agitator assembly | $30 to $80 | Cracked body or stripped splines |
| Drive coupler | $10 to $20 | Motor runs but tub doesn't move |
Pro Tip: Take photos of every wire connection and part position before removing anything. Organizing parts during disassembly and labeling screws in small cups cuts reassembly time in half.
Always unplug the washer and shut off the water supply valves before opening the machine. This is not optional. Water and electricity together create serious injury risk.
Step-by-step agitator removal and repair
Once you have your tools and parts ready, the actual repair follows a logical sequence. Work slowly and methodically.
-
Remove the agitator cap. Most agitators have a fabric softener dispenser or a plastic cap on top. Pry it off with a flathead screwdriver. Underneath you will find a bolt, usually 7/16-inch.
-
Unscrew the bolt. Use your socket wrench to remove it completely. Set the bolt somewhere safe. Do not let it fall into the tub.
-
Pull the agitator straight up. Grip it firmly at the base and lift. It should slide off the drive shaft. If it's stuck, rock it gently side to side. Agitator removal on most Kenmore and Sears models follows this exact method.
-
Separate the upper and lower agitator halves. Many two-piece agitators twist apart. The agitator dogs sit inside the upper half, inside a plastic cam housing.
-
Inspect the agitator dogs. These small plastic pawls are the most common failure point. They should grip the cam when turning in one direction and release in the other. If they look rounded, cracked, or worn flat, they need replacement. Worn agitator symptoms include weak agitation, clothes sitting in one spot, and grinding noises during the wash cycle.
-
Check the splines. The splines are the ridged teeth on the drive shaft and inside the agitator base. If they are stripped or cracked, a repair kit won't fix it. You need a full agitator replacement.
-
Install the repair kit or new agitator. Snap the new dogs into the cam housing. Reassemble the upper and lower halves. Slide the agitator back onto the drive shaft, aligning the splines carefully.
-
Reinstall the bolt and cap. Tighten the bolt correctly and snap the cap back into place. A loose bolt lets the agitator wobble and wear faster. A missing cap lets debris fall into the drive shaft area.
Pro Tip: Before reassembling, check the bottom of the tub for stray socks or small items. Obstructions at the agitator base are a surprisingly common cause of agitation problems and take about 30 seconds to check.
Repair kit vs. full replacement
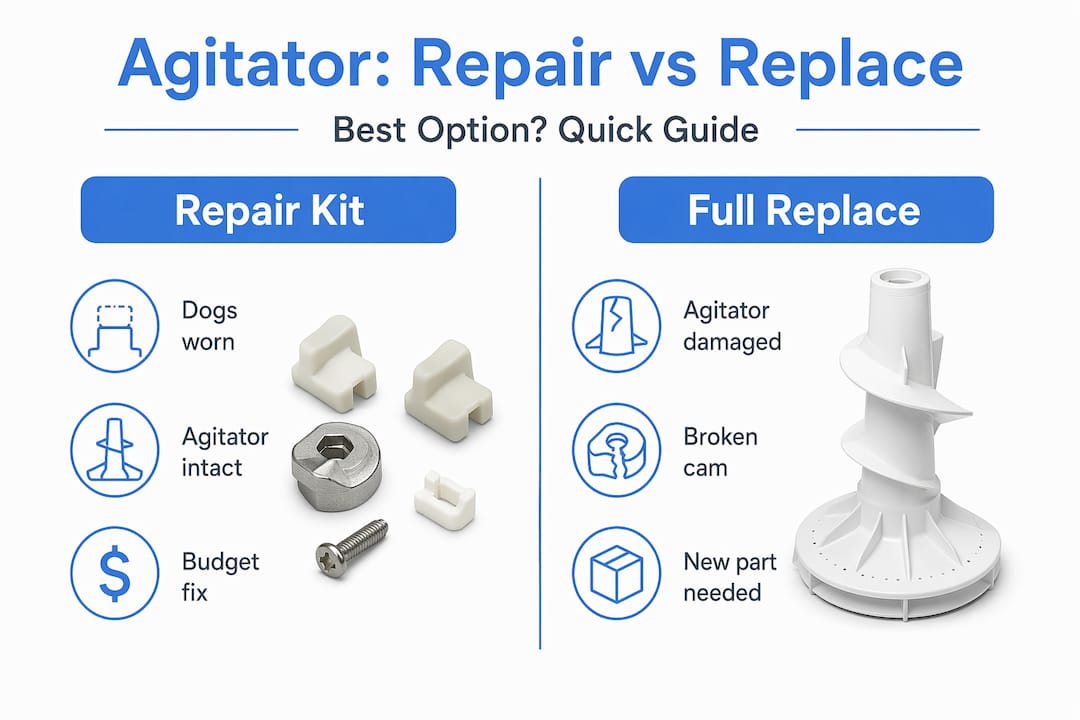
Use a repair kit when the agitator body is intact and only the dogs or cam are worn. Choose a full replacement when the plastic housing is cracked, the splines are stripped, or the agitator vibrates loudly even with new dogs installed. Full agitator replacement cost typically runs $30 to $80 for the part alone, compared to under $15 for a repair kit.
When the agitator isn't actually the problem
Here is where a lot of DIY repairs go sideways. The agitator looks fine. The motor sounds like it's running. But nothing moves. That scenario points away from the agitator itself and toward a broken drive coupler.
The drive coupler is a three-piece rubber and plastic connector that sits between the motor shaft and the transmission. It's designed to break under stress to protect the motor from damage. When it fails, the motor runs but the tub stays still, clothes come out soaking wet and dirty, and you might hear the motor humming without any drum movement.
Signs that point to a coupler issue rather than agitator wear:
- The tub doesn't spin OR agitate, not just one or the other
- You hear the motor running but feel no vibration from the drum
- The washer fills and drains normally but skips all mechanical movement
- Replacing the agitator dogs made no difference
To inspect the coupler, you need to tip the washer forward and remove the front panel or cabinet depending on your model. The coupler is visible on the motor shaft. Diagnosing power transfer issues first before replacing agitator parts saves you from buying parts you don't need.
Pro Tip: Also check the lid switch before pulling anything apart. A broken lid switch prevents the motor from running at all and mimics agitator failure perfectly. Press the switch manually with the lid open while running a cycle. If the motor starts, you found your problem.
Replacing the coupler costs $10 to $20 for the part and about 45 minutes of work. It's one of the most cost-effective fixes in the appliance repair world.
Testing and keeping your repair lasting
After reassembly, don't just run a full load of laundry and hope for the best. Verify the repair properly.
- Run a short wash cycle with no clothes inside and watch the agitator through the lid. It should move back and forth with consistent force.
- Listen for grinding, squealing, or clunking. A little water noise is normal. Mechanical sounds are not.
- After the first full load, check that the bolt is still tight. New parts can settle slightly during the first run.
- Every six months, remove the agitator cap and visually check the bolt tension and the condition of the dogs. This takes five minutes and catches wear before it becomes a failure.
Beyond maintenance checks, how you load the machine matters more than most people realize. Overloading puts extra strain on the agitator dogs and the drive coupler. Washing one heavy item like a single blanket creates an unbalanced load that hammers the agitator against the tub wall. Spread heavy items evenly and avoid packing clothes above the agitator's top.
If you run a test cycle and the agitation is still weak or absent after replacing the dogs and checking the coupler, the problem likely sits deeper in the transmission or motor. At that point, the repair cost often approaches or exceeds the value of the machine. That's the honest threshold where professional diagnosis makes more financial sense than continued DIY guesswork.
My take on agitator repairs after years in the field
I've seen more misdiagnosed agitator jobs than I can count. A homeowner replaces the dogs, the agitator still doesn't move, and they assume the machine is dead. In most of those cases, the drive coupler was the real culprit the whole time. The agitator dogs were worn too, sure, but they weren't causing the no-movement symptom.
My honest advice is to always trace the power path before ordering parts. Motor to coupler to transmission to agitator. If you skip that sequence and jump straight to the agitator, you're guessing, not diagnosing.
The other mistake I see constantly is sourcing parts by description instead of model number. "Agitator dogs for a Whirlpool top-loader" returns dozens of results that look identical but fit differently. One wrong part and you're doing the whole job twice. The model number sticker takes ten seconds to find and eliminates that problem entirely.
I'll also say this: the cost-versus-effort math on agitator repairs almost always favors DIY. A repair kit under $10, an hour of work, and a machine that runs another five years. That's a strong return. But if you open the machine and find a cracked transmission housing or a burned motor winding, stop. You're past the point where tools and YouTube videos are going to help.
— Timofei
Need a hand? Pfc-mt has you covered
Not every repair goes smoothly, and some problems genuinely need a trained eye. If you've worked through the steps above and your washer still isn't agitating, or if you'd rather skip the disassembly entirely, Pfc-mt offers same-day appliance repair for washing machines and a full range of household appliances.

Pfc-mt technicians diagnose the full power transfer path, not just the visible parts, and use genuine components matched to your exact model. That means no guesswork, no compatibility surprises, and no repeat failures from the wrong part. Whether it's a worn agitator, a failed drive coupler, or something deeper in the transmission, the team at Pfc-mt gets it fixed right the first time. Reach out today and get your laundry routine back on track without the frustration of a second trip to the hardware store.
FAQ
What are the most common signs of agitator failure?
Weak agitation, clothes staying in one spot during the wash cycle, and grinding noises are the clearest signs. Worn agitator dogs are the most frequent cause in top-load washers.
How much does agitator repair cost?
A repair kit for the agitator dogs typically costs $5 to $15. Full agitator replacement runs $30 to $80 for the part. Professional labor adds $75 to $150 depending on your area and the complexity of the repair.
Can I fix the agitator without calling a professional?
Yes, in most cases. Replacing agitator dogs requires basic tools and about an hour. The job becomes more complex if the splines are stripped, the drive coupler is broken, or the transmission is involved.
Why does my motor run but the agitator not move?
This usually points to a broken drive coupler, not the agitator itself. The coupler connects the motor to the transmission and is designed to break under overload. Replacing it costs under $20 and fixes the problem in most direct-drive washers.
How do I find the right replacement parts for my washer?
Locate the model number sticker inside the lid frame or on the back panel, then search for parts using that exact number. Model-specific searches return compatible results and prevent the costly mistake of installing the wrong part.